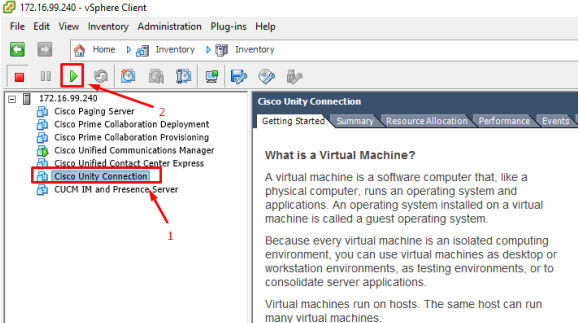
1. Sử dụng vSphere Client đăng nhập vào host. Chọn Cisco Unity Connection > chọn
icon Power-On.
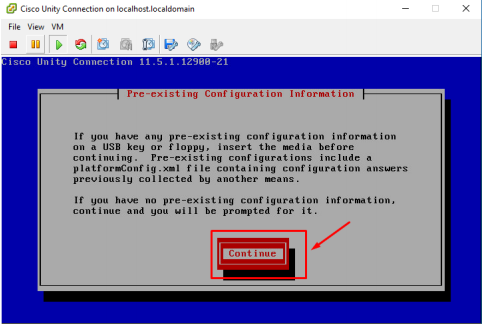
2. Mục Pre-existing Configuration Information > chọn Continue.
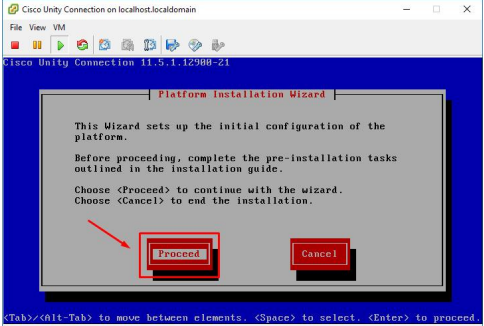
3. Mục Platform Installation Wizard > chọn Proceed.
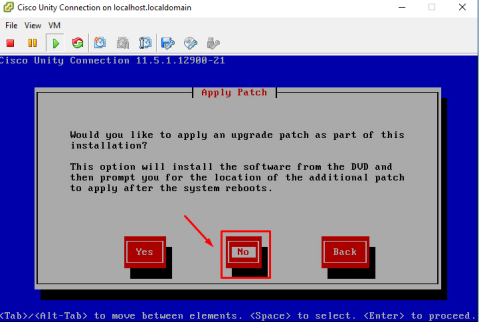
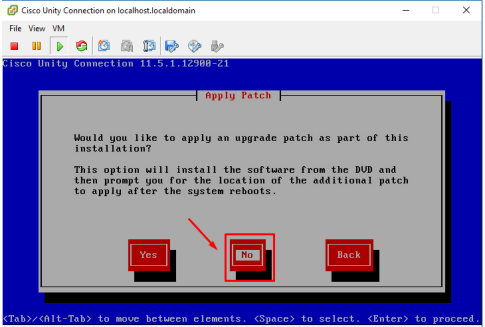
4. Mục Apply Patch > chọn No
5. Mục Basic Install > chọn Continue.
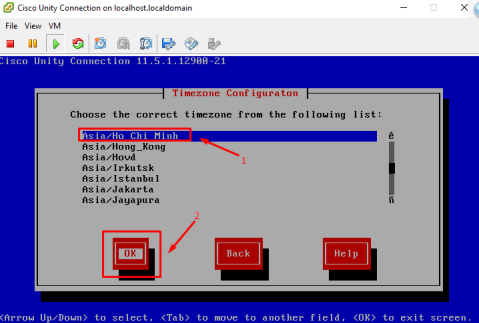
6. Mục Timezone Configuration > chọn Asia/Ho_Chi_Minh > chọn OK.
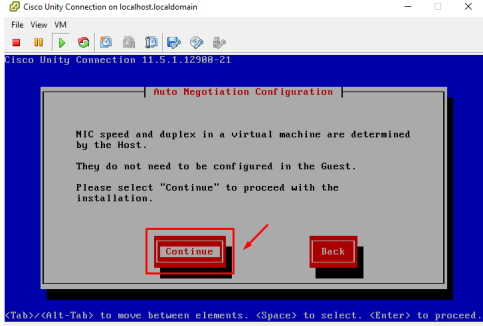
7. Mục Auto Negotiation Configuration > chọn Continue.
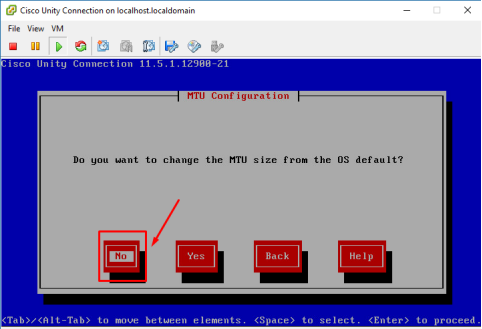
8. Mục MTU Configuration > chọn No.
9. Mục DHCP Configuration > chọn No.

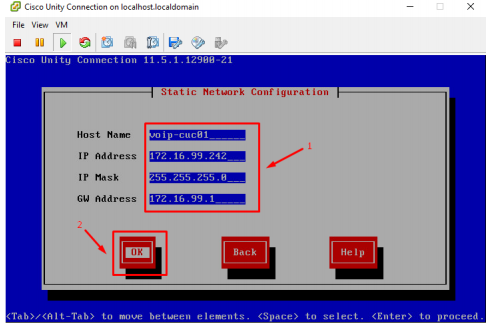
10. Mục Static Network Configuration > nhập các thông số như quy hoạch CUC> chọn OK.
Hostname:
IP Address:
IP Mask:
Gateway:
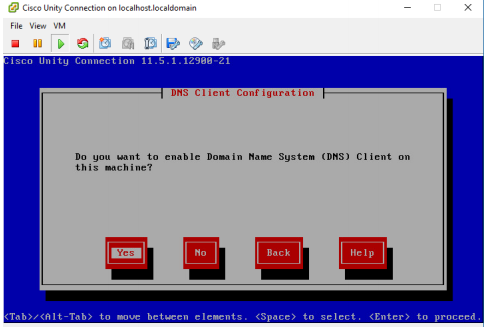
11. Mục DNS Client Configuration > chọn No.
12. Mục Administrator Login Configuration > nhập thông tin account admin > chọn
OK.

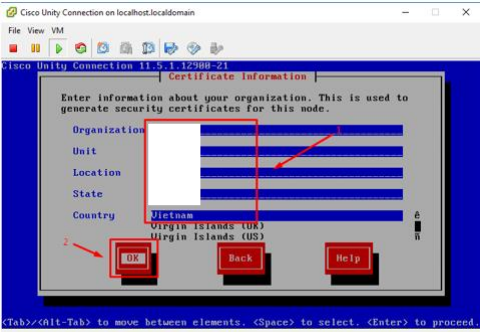
13. Mục Certificate Information > nhập các thông số như bên dưới > chọn OK.
Organization: people
Unit: CO
Location: vnpro
State: local
Country: Vietnam
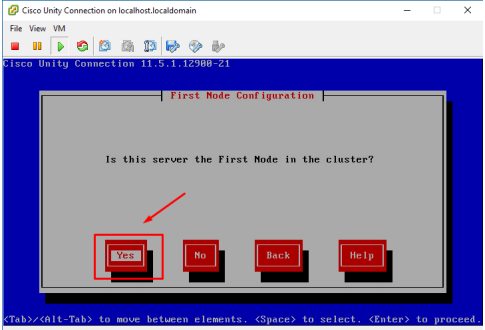
14. Mục First Node Configuration > chọn Yes.
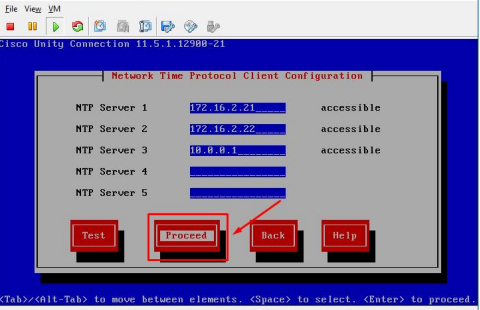
15. Mục Network Time Protocol Client Configuration > nhập thông tin như bên dưới
> chọn Proceed..
NTP Server 1: 162.159.200.123
NTP Server 2: 223.255.185.2
NTP Server 3: 118.143.17.82
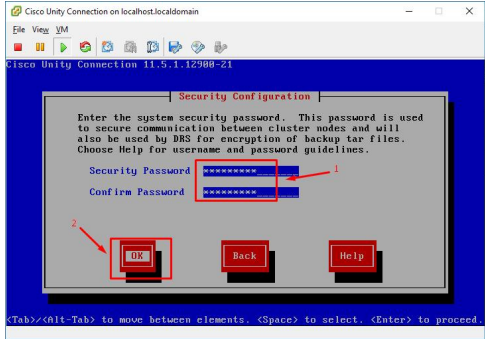
16. Mục Security Configuration > nhập thông tin password > chọn OK.
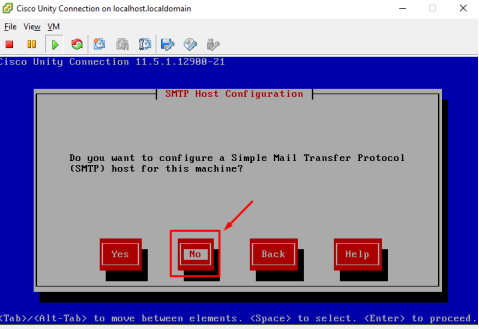
17. Mục SMTP Host Configuration > chọn No.
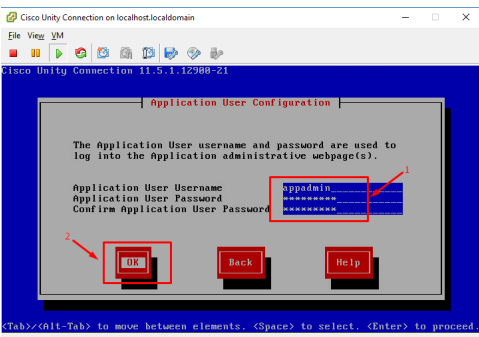
18. Mục Application User Configuration > nhập thông tin account application user >
chọn OK.
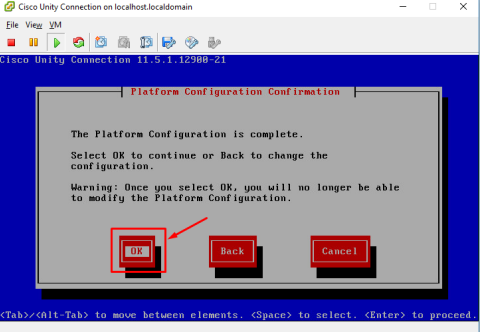
19. Mục Platform Configuration Confirmation > chọn OK.
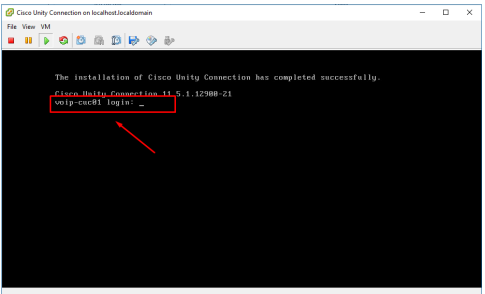
20. Sau khi cài đặt thành công, màn hình đăng nhập command line sẽ xuất hiện